
Easy Steps to Make No-Bake Pineapple Cream Dessert
Why You’ll Love No-Bake Pineapple Cream Dessert: Effortless to Prepare: No oven needed, just mix, assemble, and chill. Light and…
Why You’ll Love No-Bake Pineapple Cream Dessert:
Effortless to Prepare: No oven needed, just mix, assemble, and chill.
Light and Refreshing: The tropical flavor of pineapple paired with cool, creamy layers feels light and refreshing.
Perfect for Any Occasion: Elegant enough for special events but simple enough for a weeknight treat.
Crowd-Pleaser: Its sweet and fruity taste appeals to guests of all ages.
Ingredients Notes for No-Bake Pineapple Cream Dessert:
Graham Crackers: The base layer, providing a sweet and crunchy texture. Alternatively, use digestive biscuits or vanilla wafers.
Cream Cheese: Softened, to blend smoothly into the filling for a rich, creamy texture.
Whipped Topping: Adds lightness and fluffiness to the cream layer. You can use store-bought or homemade whipped cream.
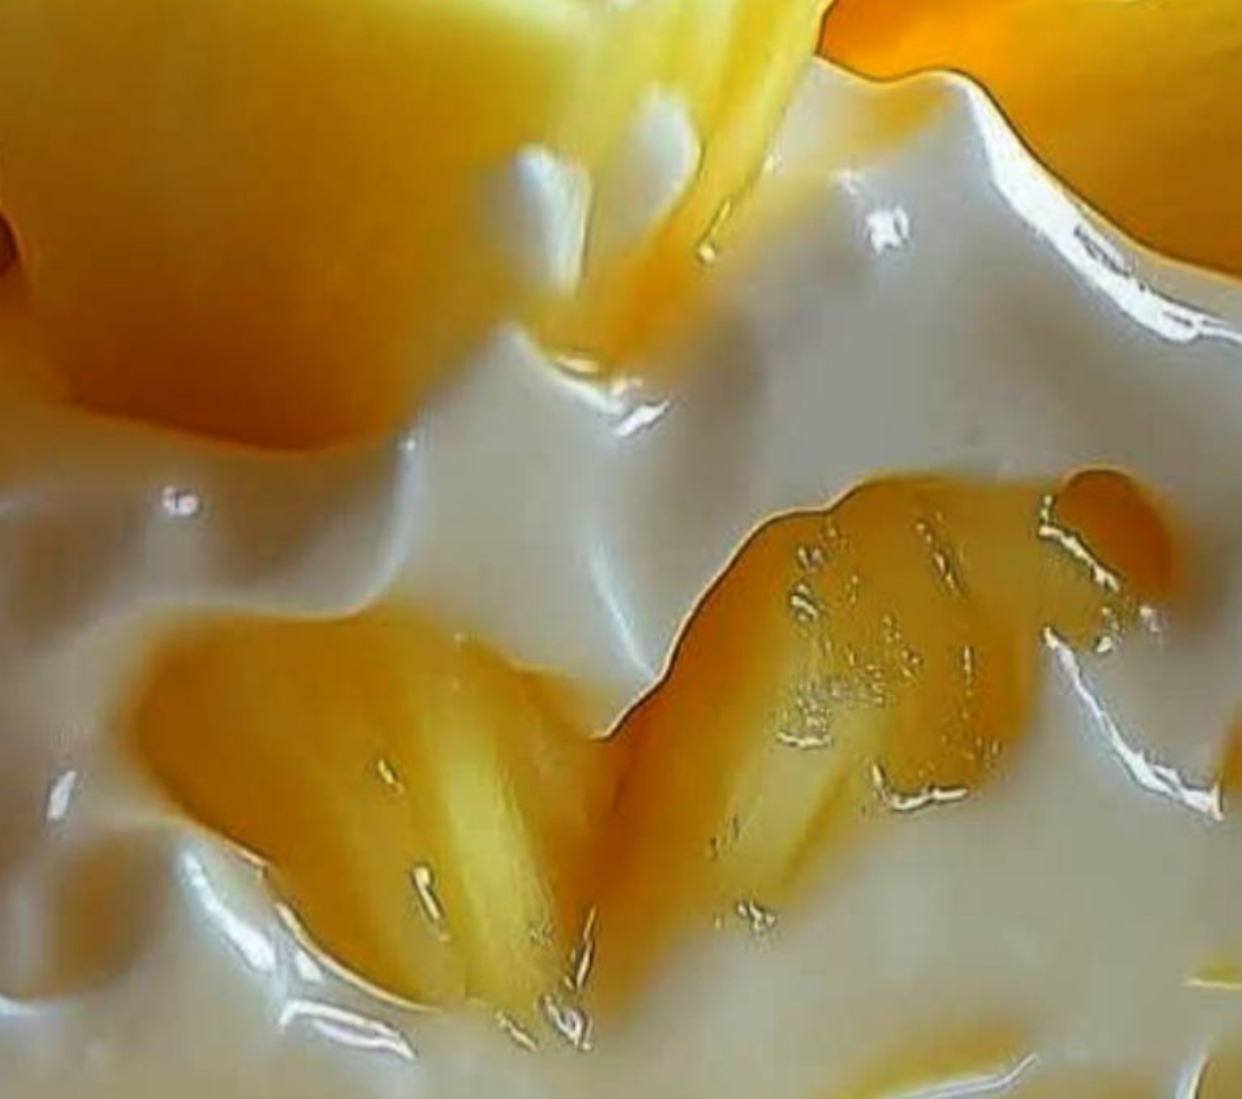
Pineapple: Crushed pineapple in juice, well-drained, is mixed into the cream layer for that tropical flavor.
Sugar: Sweetens the cream cheese mixture.
Lemon Juice: Enhances the pineapple’s tanginess and helps balance the sweetness.
Butter: Melted, mixed with graham cracker crumbs for the crust.
Recipe Steps:
Prepare the Crust:
Combine Ingredients:
In a medium bowl, combine 2 cups graham cracker crumbs, 1/2 cup melted unsalted butter, and 1/4 cup granulated sugar. Mix until the crumbs are evenly moistened.
Press and Chill:
Press the mixture firmly into the bottom of a 9×13 inch dish, forming a firm, even layer. Chill in the refrigerator while you prepare the filling.
Make the Filling:
Beat Cream Cheese:
In a large mixing bowl, beat 1 package (8 oz) softened cream cheese until smooth and creamy.
Add Sugar and Vanilla:
Add 1/2 cup powdered sugar and 1 teaspoon vanilla extract, and continue beating until well combined.
Incorporate Pineapple:
Stir in 1 can (20 oz) well-drained crushed pineapple.
Fold in Whipped Cream:
Gently fold in 2 cups whipped cream or whipped topping until the mixture is uniform.
Assemble the Dessert:
Spread Filling:
Spread the pineapple and cream cheese mixture evenly over the chilled crust. Smooth the top with a spatula.
Chill:
Refrigerate:
Refrigerate the dessert for at least 4 hours, or overnight, to set completely and develop the flavors.
Garnish and Serve:
Top and Garnish:
Before serving, top with additional whipped cream or whipped topping, chopped nuts, and maraschino cherries if desired.
Serve:
Cut into squares and serve chilled.
INGREDIENTS
FOR THE CRUST:
2 cups graham cracker crumbs
1/2 cup unsalted butter, melted
1/4 cup granulated sugar
FOR THE FILLING:
1 can (20 oz) crushed pineapple, drained well
1 package (8 oz) cream cheese, softened
1/2 cup powdered sugar
1 teaspoon vanilla extract
2 cups whipped cream or whipped topping
FOR TOPPING:
Extra whipped cream or whipped topping
Chopped nuts (optional, for garnish)
Maraschino cherries (optional, for garnish)
Enjoy your delightful No-Bake Pineapple Cream Dessert, perfect for any occasion!
What's Your Reaction?